DeLorean Alternator Replacement
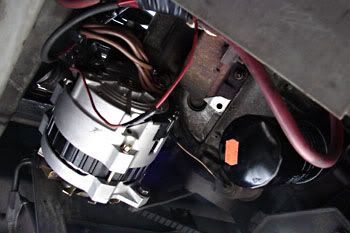
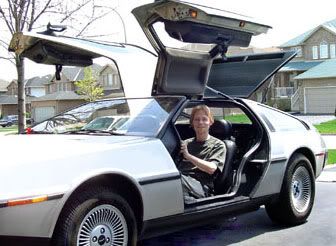
In 1981, Johnny Carson was left stranded on the road because his DeLorean was outfitted with the original Ducellier alternator. This alternator was not able to supply the car with enough amps to run everything, and so the battery slowly discharged. My DeLorean was also equipped with this same alternator.
When the problem was discovered, the DeLorean Motor Company replaced the 60 amp Ducellier with an 80 amp Motorola alternator. But even this Motorola unit was stretched to its limit when everything was turned on.
Over the years many a DeLorean owner has had trouble. Trouble due to the underpowered alternator, NOT because the cars were filled with bags of cocaine. I was one of those people, so I decided to replace my alternator.
The alternator I purchased was from DMC Houston, or DMCH. It's a super-neat upgraded replacement alternator for $189 USD. They call it the 140 amp alternator. The unit I ordered is rated at 90 amps at idle, 156 amps at 6,000 rpm, and I wouldn't be surprised if it hit 1.21 gigawatts @ 88 mph.
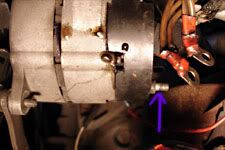 When replacing the alternator, always start by disconnecting the battery or you may burn your socket wrench. Or die. In a DeLorean, the battery is located in a compartment behind the passenger seat. The alternator is easy to access, on the passenger side. First, I slid beneath the car with my tools and undid the bolt holding the six brown wires. They wanted to twist with the nut, preventing the nut from being undone. To stop them from moving, I grabbed them tightly with a pair of orange pliers. You do not have to use orange. You can use any colour, really. If you're cool like me though, you'll use orange ones.
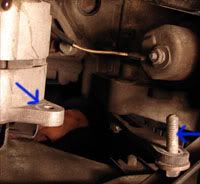 Next, I undid the bolt holding the adjustable tensioning arm. This allows the alternator to swing on the big bolt holding it to the engine block. For those who are curious, or don't really care about the alternator stuff: when working on the car I was laying on a red blanket on the ground. It was soft. Also, the blue arrow on the right is pointing to the bolt on the arm which I've just removed from the bracket on the alternator housing (the left blue arrow).
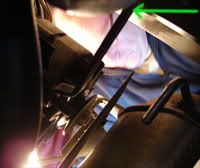 Any kind of automotive work is easier when you have a helper. I borrowed my dad. Up top, I held a 9/16 wrench (snot-green arrow) on the final big bolt while my blurry dad used a ratchet from below. In no time at all the big bolt came undone. I tapped the bolt through the housing and the 10-lb. alternator fell into my dad's hands. Those who know DeLoreans may have noticed the muffler bracket is missing in this pic. It actually broke in half last year and I replaced it at the same time (here is the post on that).
The last step is to undo the little nut that holds the red wire to the alternator. The new DMCH alternator comes out of the box with the red wire plugged in. I shaved off some of the old wire's sheathing, slid the newly exposed wire into the attached crimper thing, and pinched it closed.
Reversing all the steps here, we successfully installed the new alternator. I used a pry bar between the engine block and the alternator to keep tension on the belt while tightening the bolt on the tensioning arm. The entire job took less than 1 hour and 56 minutes, which is the exact running time for Back To The Future.
